The timer starts the instant someone collapses. By the time an ambulance reaches a patient in cardiac arrest, local responders have already decided the outcome. High quality CPR and a fast first shock are the best levers we have. Training that simply ticks boxes, without pressure, cadence, or realistic gear, leaves time on the table. Training that simulates the real thing, down to sticky pads and cold hands, tightens every step. That is where the right AED training equipment for Canada makes a visible difference.
I have watched workplace teams go from first shock at four and a half minutes to first shock under three minutes after two focused sessions with appropriate simulation tools. The curriculum stayed the same. The gear and the https://knoxlfte057.timeforchangecounselling.com/top-cpr-training-manikins-in-canada-a-2026-buyer-s-guide structure of practice changed.
Why response time shrinks in a simulator and not just a classroom
Cardiac arrest does not offer more time because you explained the algorithm more clearly. It responds to habits. Habits form when training adds tactile memory, small doses of stress, and immediate feedback. In CPR and AED courses, simulation tools do the quiet work of turning knowledge into speed.
A short sketch from a community center in Ontario illustrates it. We ran a drill during a public skate to mirror how a real arrest would unfold at an arena. The team had practiced many times, but this was the first session with rink noise pumped through a speaker, gloves on, and a trainer that matched their installed unit’s prompts in English and French. Two details changed their timeline. First, the AED training pads were already preconnected in the case, exactly like their live AED. Second, the manikin’s feedback app showed their compression fraction in real time, so the person on compressions could see the impact of fumbling for scissors. Their average hands-off time during pad placement shrank by 8 to 10 seconds, and their first shock moved up by half a minute. Nothing magic, simply equipment that made them practice what they would actually do.
Survival drops quickly without intervention. Published estimates vary by community system, but a typical rule of thumb is that with no CPR or defibrillation the chance of survival declines roughly 7 to 10 percent per minute. High quality CPR slows that decline. A shock delivered within the first three to five minutes, when a shockable rhythm is still present, can double or triple survival compared with later shocks. Those ranges reflect complex realities, but the lesson stands: shave seconds everywhere you can.
What counts as simulation tools in Canadian CPR and AED training
When people hear simulation, they picture high fidelity manikins in a lab. In most Canadian settings, simulation means well-chosen, durable equipment that supports repetition with coaching. It spans a spectrum:
- CPR training manikins that give usable feedback on depth, recoil, and rate, and that can survive hundreds of compressions a day. AED trainers that mirror your onsite defibrillator’s look, language, and prompts, and that let instructors trigger scenarios. Instructor tools, such as QCPR apps, wireless remotes, timers, and metronomes, to drive pace and track metrics. Environment props that force real decisions: gloves, trauma shears, pocket masks, blankets, and sample AED wall cabinets with mock alarm. Scenario injects like laminated 911 scripts, building maps with AED locations, and fake medications or medical IDs.
In Canada, training organizations range from sole proprietors with a few classes a month to national providers equipping entire regions. What ties them together is the need to prove competence in CPR and AED use under standards from the Heart and Stroke Foundation of Canada or equivalent recognized curricula, along with provincial occupational health and safety expectations for first aid training. For any of them, simulation gear sets the tone. If you are outfitting a new program, focus first on how the equipment will speed decisions and reduce hands-off time, then on lifespan, and finally on features that are nice to have.
The timeline you are trying to compress
Imagine the first two minutes of an arrest at a workplace. A bystander recognizes unresponsiveness and no normal breathing, shouts for help, and starts compressions. Someone else brings the AED. Pads go on, the unit analyzes, and if advised, a shock is delivered. Each of those steps hides delays. People hesitate to start compressions without confirmation, or they dig in a case for scissors while hands are off the chest, or they wait through three voice prompts to confirm what they already see.
Effective simulation tools break the process into measurable tasks. The goal is not just passing a test. It is trimming friction while protecting safety. In class, most teams benefit from tracking just a few metrics they can understand and improve with practice.
- Time to first compression after recognizing unresponsiveness. Compression fraction, the percentage of time compressions are actually delivered during the first two minutes. Time from AED arrival to pads fully applied. Time from AED arrival to first shock, where indicated. Total hands-off time leading up to and just after a shock.
Those numbers are not abstractions. They reflect concrete choices about where to keep scissors, who fetches the AED, and whether your AED trainer’s pads are already attached to the cable or not. They also respond quickly to coaching. When an instructor points and says, pads on during compressions, students look down at their hands and adjust. When the manikin confirms that compressions are still effective with minor repositioning for pad placement, students learn to ignore perfect form until after the shock and then fine tune.
CPR training manikins in Canada: how much fidelity is enough
CPR training manikins in Canada run from simple torsos with a clicker to advanced models that measure multiple variables and connect to an app. The right choice depends on class size, teaching approach, and budget, not on features for their own sake.
For introductory and workplace courses, durable torsos with reasonably accurate chest resistance and visible chest rise usually carry the load. The most useful upgrades add objective feedback on:
- Depth and rate, so students stop guessing whether they are hitting 5 to 6 cm at 100 to 120 per minute. Full recoil, which often slumps as fatigue sets in. Ventilation volume when rescue breaths are taught.
App enabled feedback, like QCPR style dashboards, helps instructors see an entire room at once. In a group of 12, it is not possible to watch every set of hands on every compression, but a tablet with color coded tiles flags outliers in real time. Those systems also let you run short two minute drills and compare teams without shaming anyone. In my experience, competitive energy, gently managed, pulls performance up faster than any lecture on compression depth.
Consider these details before you buy:
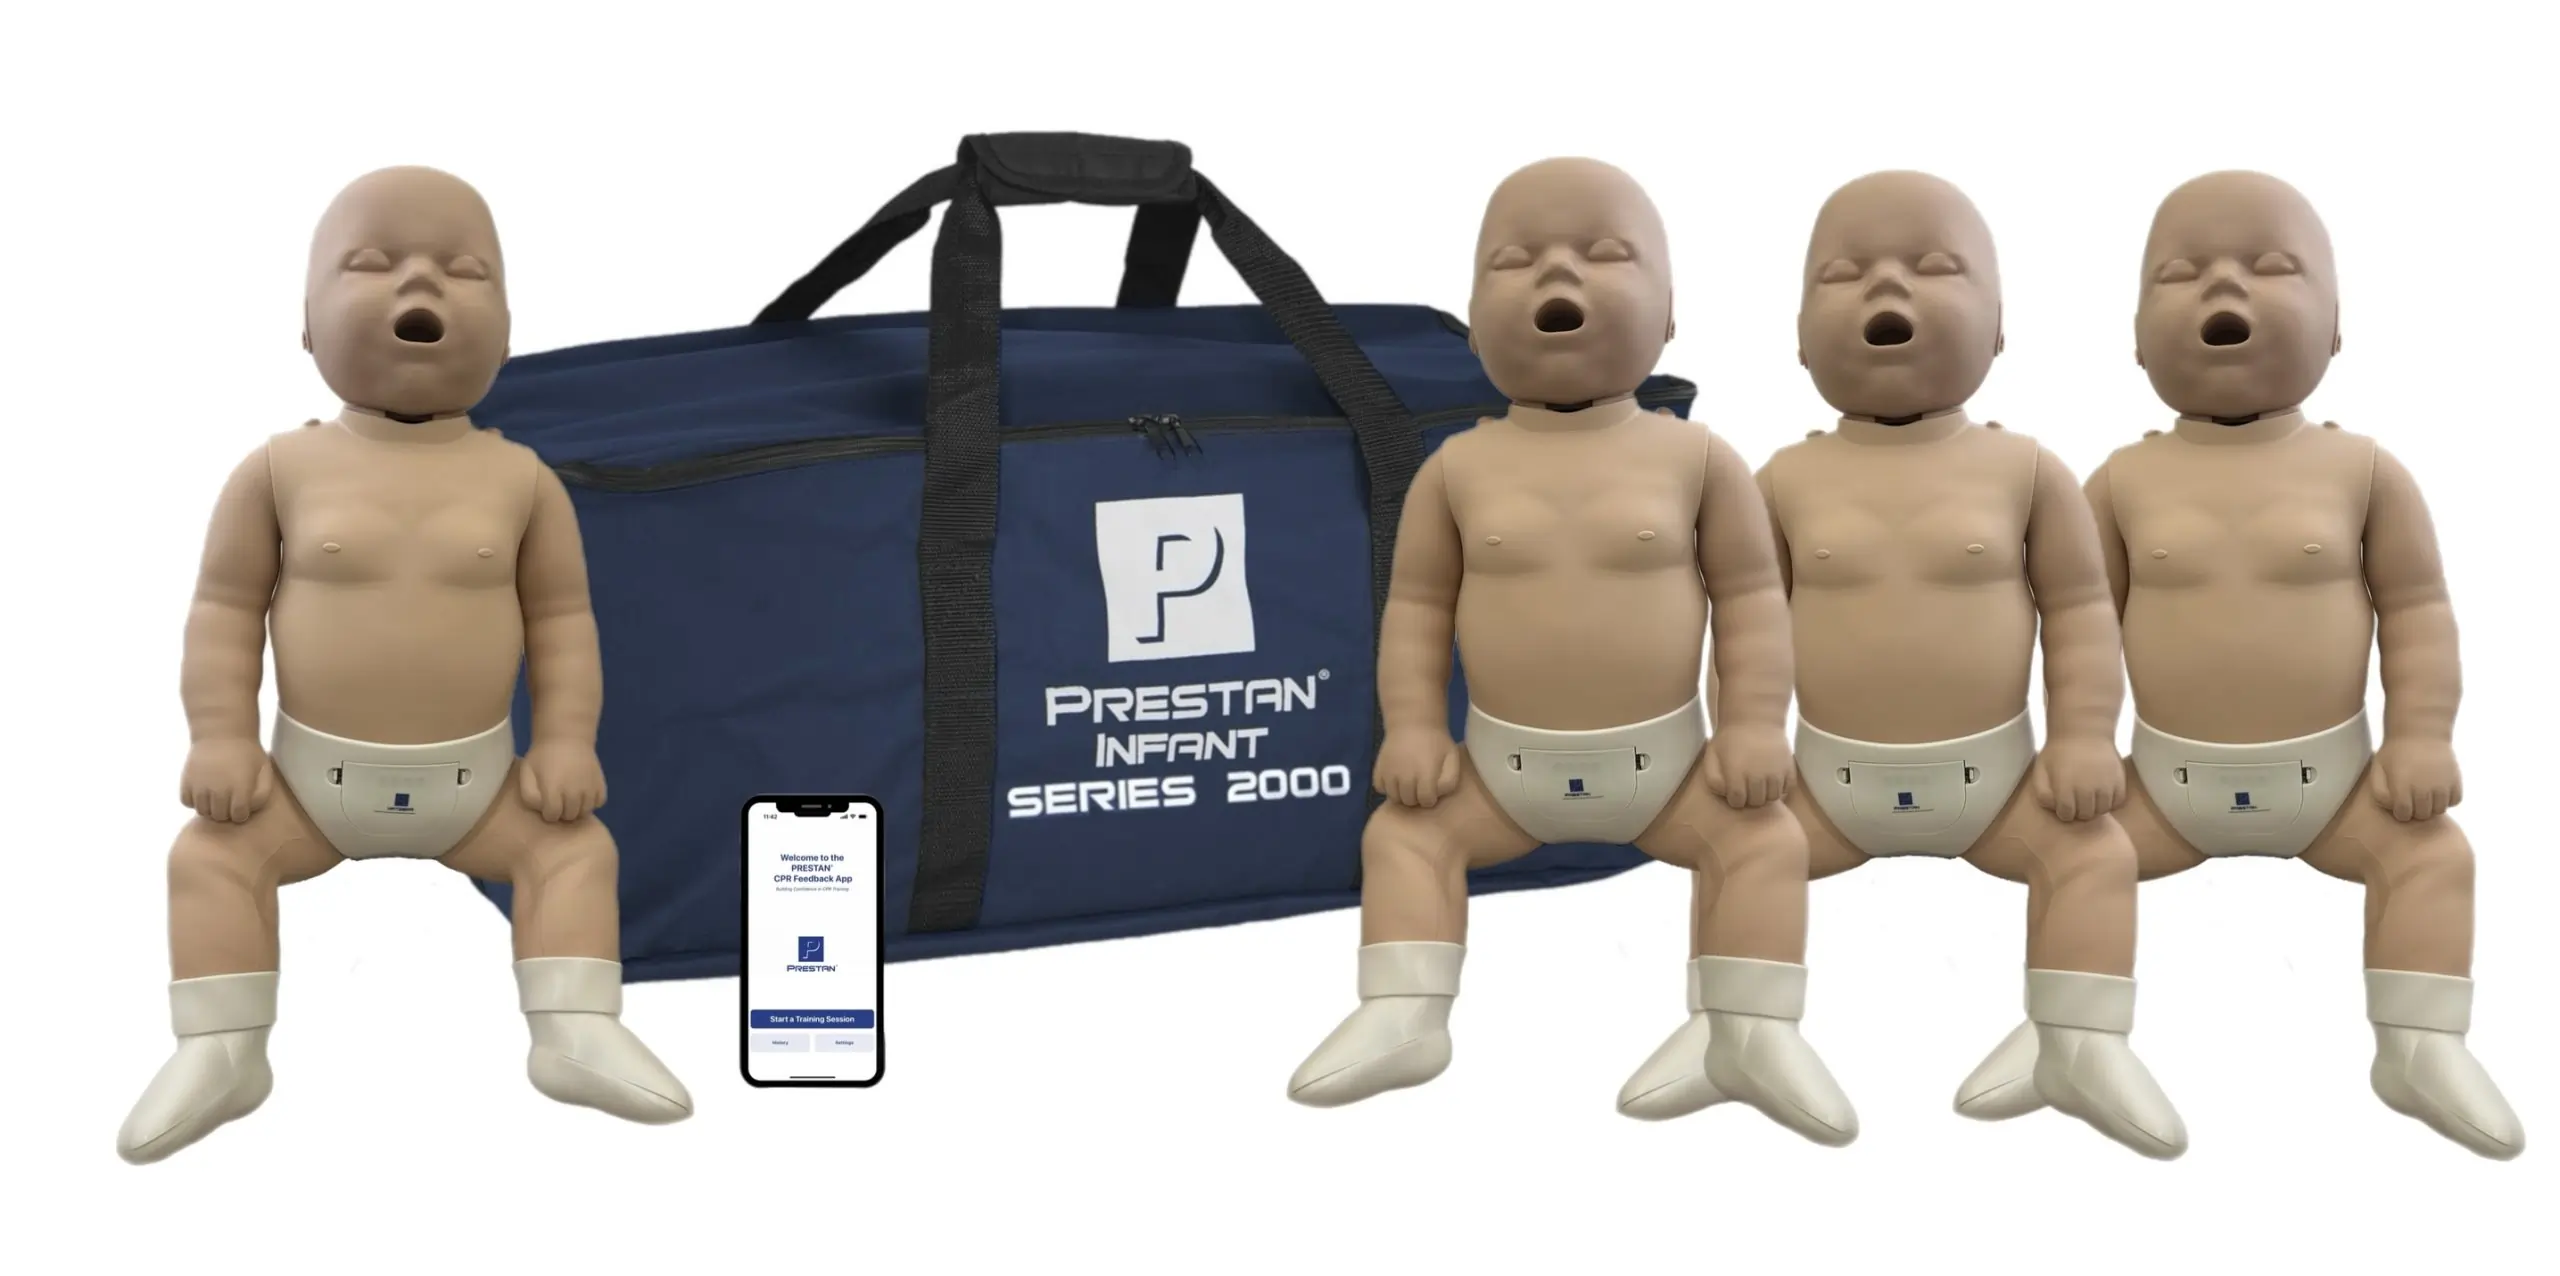
- Lungs and face pieces. If you teach many classes in a day, swap and sanitize without losing rhythm. Check the per unit cost of lungs and faces, and whether replacements are on shelves in Canada or must cross a border. Durability of chest springs and skins. Training manikins get abused. Cold vans, hot storage closets, and rough compressions take a toll. Ask for realistic service intervals. Child and infant options. Adult torsos are not enough for childcare providers and parents. Infant manikins with realistic airway resistance and head tilt feel hands-on different, which matters under stress. Visibility for coaching. Some torsos have LED rings or chest lights that let students self correct. Others depend more on instructor input. There is value in both approaches, but lights help in large rooms.
Pricing varies, and exchange rates shift. As a ballpark, a rugged adult torso with built in feedback often lands between 400 and 900 CAD. An infant model with feedback sits in the 350 to 700 CAD range. Full instructor sets for a classroom, with four to six torsos, a few infants, and accessories, stack up quickly. This is where CPR instructor packages Canada can save time. They bundle manikins, spare lungs, cleaning supplies, and a carrying bag, sometimes with app licenses included. The key is to confirm that the package fits your teaching style rather than chasing a discount on items you will not use.
AED training equipment Canada: features that teach speed
An AED trainer should make students feel like they just opened the same device they would grab from a wall cabinet at work. That means matching case design, buttons, and voices, plus having adult and child training pads that stick, reposition, and survive many uses. Bilingual English and French prompts are essential in many classrooms and required for federal workplaces and a large share of provincial sites.
Look for these core functions:
- Scenarios that let an instructor choose shockable or nonshockable rhythms, with control over when a shock is advised. A remote or app that pauses or patient-handles the trainer without a student noticing. The smoother the setup, the less time you spend fiddling. Volume control. Real AEDs are loud, and for good reason, but classroom acoustics vary. Make sure the trainer can cut through a noisy gym without blowing out a library. Pad design that trains accurate placement quickly. Some pads have faint diagrams. Others use clear landmarks and conductive gel patterns that grip until you decide to move them. The latter leads to faster, more confident placement. Child mode or pediatric pads to mirror installed AEDs. Many Canadian workplaces and public sites install AEDs with a child mode switch. If your trainer can match that behavior, students will not hesitate when faced with a small patient.
It also helps when the trainer matches a common brand in your region, such as units from Stryker, ZOLL, Philips, or Defibtech. That familiarity shortens cognitive load. No trainer shocks, of course, but the rhythm of prompts matters. Some devices prompt every action. Others wait for you to do something and only then speak. If you teach across sites, keep a few trainer types on hand to cover the major prompt patterns.
Canadian specifics to keep in view:
- Health Canada licensing applies to live AEDs, not to AED trainers, but reputable AED training equipment in Canada still goes through distributors who support warranty and parts locally. Cold weather. A rink or worksite drill in February is real life here. Consumer grade training pads can lose tack in the cold. Store them warm, and practice opening the case with gloves on. Emphasize sheltering the patient quickly on a mat or blanket if ice or concrete is stealing heat. English and French. Pick trainers and CPR and first aid training kits that can switch languages cleanly. Code switching mid scenario is common in mixed language groups. Trainers that can do it without a reboot keep momentum.
Feedback technology and data that coaches better than opinion
Modern feedback systems are not just for big centers. Bluetooth enabled manikins and small accelerometers that strap to a student’s hand or to the manikin’s chest are within reach for independent instructors. They plug two gaps: objective measurement and retention of learning.
In practice, a two minute pit with live metrics changes behavior fast. Students see rate creep when fatigue hits. They see recoil drop when they rock rather than lift. After a 10 minute break, they go again and watch their bar stay green longer. That is sticky learning.
For CPR instructor packages Canada, consider whether a single app can monitor multiple devices, whether you need licenses per manikin or per class, and how data storage aligns with Canadian privacy expectations. You do not need to keep personal identifiers. A simple class ID, date, and anonymized performance snapshots let you show organizations that teams are improving across sessions without creating headaches under PIPEDA. Many small providers skip archiving entirely and use the apps only for real time coaching, which is fine. If you do collect, keep it light and transparent.
Building drills for Canadian environments
It is one thing to practice in a quiet room with plenty of space. It is another to manage a cardiac arrest in a tight lunchroom, a mine site trailer, or on rubberized rink flooring behind the bench while a youth tournament hums around you. Bring the environment into class.
At schools, run a scenario in a corridor with lockers and backpacks along the walls. Coach a runner to the AED cabinet, practice silencing the door alarm if there is one, and model the brief conversation someone will have with the principal or custodian after the event. In an office, wedge a table at an awkward angle and ask teams to clear space safely without losing compressions. At a rink, put the manikin on a training mat on the ice for a minute, then move to the walkway to mimic what actually happens while recognizing that sheer ice is not safe for compressions. In remote camps, practice what happens when the AED comes from a truck parked outside at minus 20. Warm pads, glove dexterity, and battery readiness matter. Even training batteries sag in the cold.
If your community includes many francophones or allophones, swap prompts mid drill to mirror real language noise. Trainers that speak in French while teammates speak in English nudge people to rely on visual cues and the core algorithm, rather than on a single voice.

Scenario design that tightens leadership and hands-off time
Every good scenario has three parts. A sharp start that forces a decision. A middle that introduces mild pressure and a choice about priorities. A debrief that lands one or two lessons without drowning people in notes. Keep scenarios short, often two to six minutes, so participants can reset and go again.
Here is a compact framework that reliably improves speed without sacrificing safety.
- Brief the goal in one sentence, then start cold. Example: focus today on pads on during compressions. Assign roles fast: compressor, AED runner, team lead if you have four, timer if you have five. Coach one change before the second run, not three. Example: pretear pad package and separate backing with gloved hands. Debrief with numbers. Quote time to first compression and time to shock from your timer, and point to the compression fraction on your app. Rotate roles and run the same scenario a second time to lock in the change.
This simple loop builds confidence. It also exposes leadership habits. In many Canadian workplaces, teams are mixed age and experience, with language and cultural variations. Quiet leaders often show up in the second or third run. When people realize the job is to move forward, talk less, and trust the device, they stop narrating and start doing.
Maintenance and logistics for emergency training equipment in Canada
Simulation gear earns its keep when it is used hard and maintained well. Problems appear when small consumables run out or when equipment sits through a winter in a trunk.
Plan for replacements. AED training pads will degrade with use, especially if they are peeled and restuck often. Expect a set to last for a few dozen scenarios before adhesion fades or the cable tangles beyond saving. Keep spare pad sets on hand, stored flat, and date them. For manikins, lungs and valve assemblies should be stocked at least at a 1:1 ratio with torsos, more if you run back to back classes. Cleaning supplies need to be compatible with the manikin skin material. Harsh disinfectants can crack or fade plastics. Your distributor should provide a list of approved agents.
Shipping and support matter across such a big country. If you operate far from major centers, check whether your supplier has Canadian stock or ships case by case from the United States. That distinction affects lead times and customs surprises. There is nothing more frustrating than a class in Thunder Bay delayed because a set of infant lungs is in a courier depot across the border for the long weekend.
Warranties and service for trainers vary. Ask for typical turnaround times for common fixes, such as a failed display or a broken battery door. Trainers do not require licensing, but live AEDs do, so keep training and live gear separate and clearly labeled. This avoids mixups when you load a vehicle at 6 a.m. In the dark.
Costing and smart bundles: where packages help
Outfitting a room from scratch with emergency training equipment in Canada is an investment. A realistic classroom set for eight to twelve learners might include four adult torsos with feedback, two infants, two AED trainers with multiple pad sets, a few sets of gloves and barrier devices, shears, mats, timers, and cleaning supplies. Depending on brand choices, that can run from 3,500 to 8,000 CAD. CPR instructor packages Canada often bring that into a manageable range and keep compatibility across components.
When comparing offers, focus on three questions:
- Do the manikins and AED trainers align with the kinds of sites you serve? Teaching at rinks and factories is different from teaching at daycares and community centers. How many consumables are included, and what is the realistic cost to replace them through a Canadian distributor? Are there built in features you will not use? If you never plan to run VR modules or display dashboards on a projector, do not pay for them.
Small providers can start tighter. A pair of quality adult torsos with feedback, one infant, and one sturdy AED trainer is enough to deliver solid courses to small groups. Add a second AED trainer and extra torsos as your client base grows. Buying refurbished or previous generation models from reputable sellers can free up budget for consumables. The key is to pick gear with parts still supported.
For organizations building internal capacity, CPR and first aid training kits that mirror workplace hazards reduce friction on drill days. A kit with nitrile gloves in realistic sizes, visible trauma shears, barrier devices, triangular bandages, and a thermal blanket lets you cast scenarios without scrounging. Make sure the kit looks like what staff would actually find in their first aid room, not a theatrical prop bag.
Common pitfalls that slow you down, and how to avoid them
A few patterns repeat across classes.
People stop compressions to open the AED case. This happens because they think steps go in series. Fix it by practicing noisy, overlapping actions. The AED runner opens the case beside the compressor and preps pads while compressions continue. Do this three times in a row and it sticks.
Scissors are buried. You do not need scissors for every scenario, but when a heavy winter jacket is involved, you do. Place shears on top of the trainer case’s contents so nobody rummages.
Trainers with dead batteries. Assign battery checks to a person and make it a ritual at the start of class. Keep a plug in option in the room if available. For cold sites, warm gear before drills.
Pads will not stick. If you are reusing training pads past their prime, or running scenarios in a dusty area, adhesion drops. Wipe the manikin with a damp cloth before class, store pads flat, and replace them on schedule. Some instructors add a light adhesive gel designed for trainers. Test before you commit.
Stilted debriefs. Long post mortems kill momentum. Quote two numbers, point to one behavior change, and get back to a second run. The confidence boost from visible improvement beats a long speech.
Measuring improvement and proving value
Most clients appreciate a simple report after a training day, not a thesis. Use whatever feedback system you have to capture two snapshots: baseline and final runs. Report average time to first compression, time to shock, and compression fraction, with ranges. Include one anecdote that shows practical change. For example, after coaching to place pads during compressions, the warehouse team cut hands-off time by 12 seconds and moved the first shock from 3:55 to 3:18 on average.
Over multiple sessions, build a short time series. Even quarterly data helps. Organizations that track drills against real incidents see dividends. When a school staff member uses an AED on a parent during pickup and the response moves cleanly through the steps, it is because their practice felt like the real thing.
What to buy first, and what to add when you can
If you are starting from nothing, prioritize a combination that gets you teaching confidently and measuring the things that matter. One reliable adult manikin with feedback, one infant manikin, a dependable AED trainer with bilingual prompts, and a small set of accessories will get you through most courses. Add a second adult manikin as soon as you can. That upgrade alone halves dead time in classes of eight or fewer.
As you grow, invest in a second AED trainer and a feedback system that can display a room’s performance at a glance. This is where classroom flow smooths out, because you stop hovering over one pair of hands and start coaching the whole group. Rounding out with a couple of child sized torsos and an extra set of pads means you can run parallel lanes. Teams compete, laughs happen, and your timeline shrinks without anyone noticing they are being pushed.
The quiet value of fit and familiarity
The best AED training equipment Canada offers is not always the flashiest. It is the gear that fades into the background while students do the work. It mirrors the devices on their walls, supports the languages they live in, and shrugs off a long winter in a truck. It lets you rehearse a real day, not an ideal day, and gather proof that practice is changing behavior.
When the alarm rings and someone runs for the cabinet, nobody thinks about model names or app versions. They remember where the pads go, they keep compressions going, and they trust that voice to guide a shock. Good simulation tools make that moment feel familiar, not frightening. That is how you win back seconds. And seconds are everything.
CPR Depot Canada — Business Info (NAP)
Name: CPR Depot CanadaAddress: 340 Croft Dr, Tecumseh, ON N8N 2L9
Phone: +1-877-570-7322
Website: https://cpr-depot.ca/
Email: [email protected]
Hours:
Monday: 9:00 AM – 6:00 PM
Tuesday: 9:00 AM – 6:00 PM
Wednesday: 9:00 AM – 6:00 PM
Thursday: 9:00 AM – 6:00 PM
Friday: 9:00 AM – 6:00 PM
Saturday: Closed
Sunday: Closed
Open-location code (Plus Code): 8537+C8 Tecumseh, Ontario
Map/listing URL: https://www.google.com/maps/place/CPR+Depot/@42.3036,-82.8392601,17z/data=!3m1!4b1!4m6!3m5!1s0x883b2aedd5f271a1:0xfee6f8b7ab8f4110!8m2!3d42.3036!4d-82.8366852!16s%2Fg%2F1q6cff15h
Embed iframe:
Socials:
https://www.facebook.com/people/CPR-Depot-Inc/61575911496200/ https://www.instagram.com/cprdepotinc/ https://www.youtube.com/@CPRDepot
https://cpr-depot.ca/
CPR Depot Canada is a supplier of medical training products and related supplies serving customers across Canada.
The business is listed at 340 Croft Dr, Tecumseh, ON N8N 2L9.
To contact CPR Depot Canada, email [email protected] or call +1-877-570-7322.
Hours listed are Monday–Friday 9:00 AM–6:00 PM, with Saturday and Sunday closed.
For directions and listing details, use: https://www.google.com/maps/place/CPR+Depot/@42.3036,-82.8392601,17z/data=!3m1!4b1!4m6!3m5!1s0x883b2aedd5f271a1:0xfee6f8b7ab8f4110!8m2!3d42.3036!4d-82.8366852!16s%2Fg%2F1q6cff15h
Popular Questions About CPR Depot Canada
Where is CPR Depot Canada located?CPR Depot Canada is listed at 340 Croft Dr, Tecumseh, ON N8N 2L9.
What are the hours for CPR Depot Canada?
Hours listed: Monday–Friday 9:00 AM–6:00 PM; Saturday and Sunday closed.
What does CPR Depot Canada sell or provide?
CPR Depot Canada supplies medical and first aid training products and related equipment (product availability varies).
Do they ship across Canada?
The business markets to Canadian customers and operates as a Canada-wide supplier; confirm shipping options at checkout or by contacting [email protected].
How can I contact CPR Depot Canada?
Phone: +1-877-570-7322
Email: [email protected]
Website: https://cpr-depot.ca/
Map: https://www.google.com/maps/place/CPR+Depot/@42.3036,-82.8392601,17z/data=!3m1!4b1!4m6!3m5!1s0x883b2aedd5f271a1:0xfee6f8b7ab8f4110!8m2!3d42.3036!4d-82.8366852!16s%2Fg%2F1q6cff15h
Landmarks Near Tecumseh, ON
1) Tecumseh Town Hall2) Lacasse Park
3) Lakewood Park
4) WFCU Centre (Windsor)
5) Devonshire Mall (Windsor)